 I get a lot of questions about how I curl my hair, and honestly what I do is SO easy I can’t keep it to myself. It’s so easy you don’t even need to watch a video (but don’t worry, I took pictures!) So here is my super easy 10 minute bombshell curl tutorial! Prepare for your life to be changed.
Step 1: Dry Shampoo
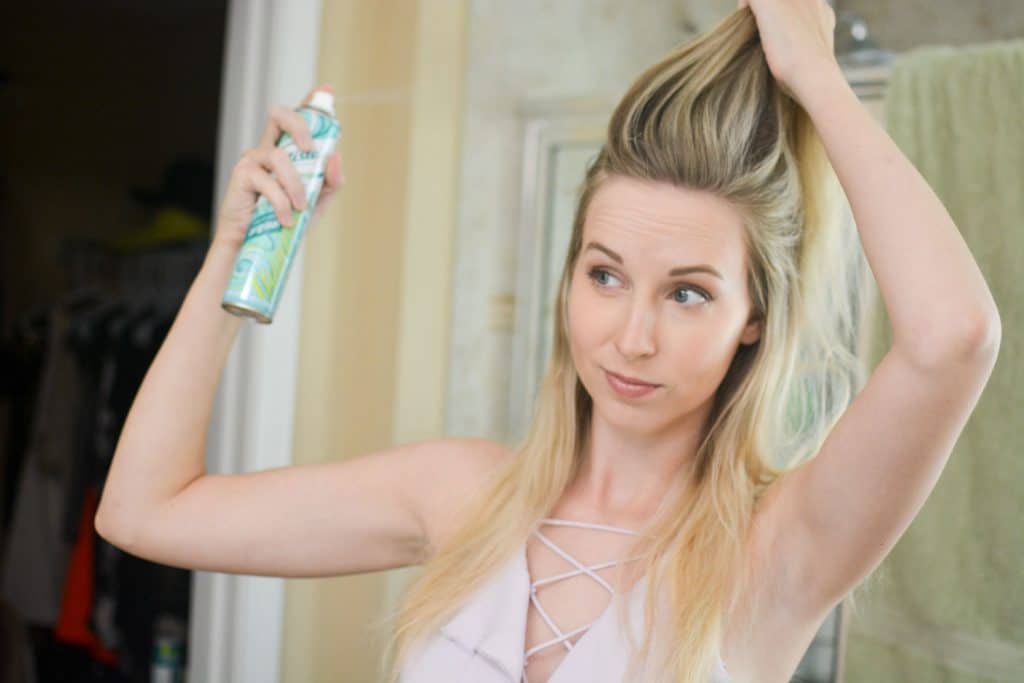 Dry shampoo is practically the basis of any good hairstyle. Especially if your hair is dirty (like mine is here). Plus, it gives your hair that extra “oomf” it needs. I section out my hair and spray the roots between, then shake it through. I’m lucky to have blonde hair that dry shampoo blends in well, but Batiste also has different colors for those of you with darker hair!
Step 2: Brush
Just like you would before curling your hair normally, make sure you brush out all of the knots!
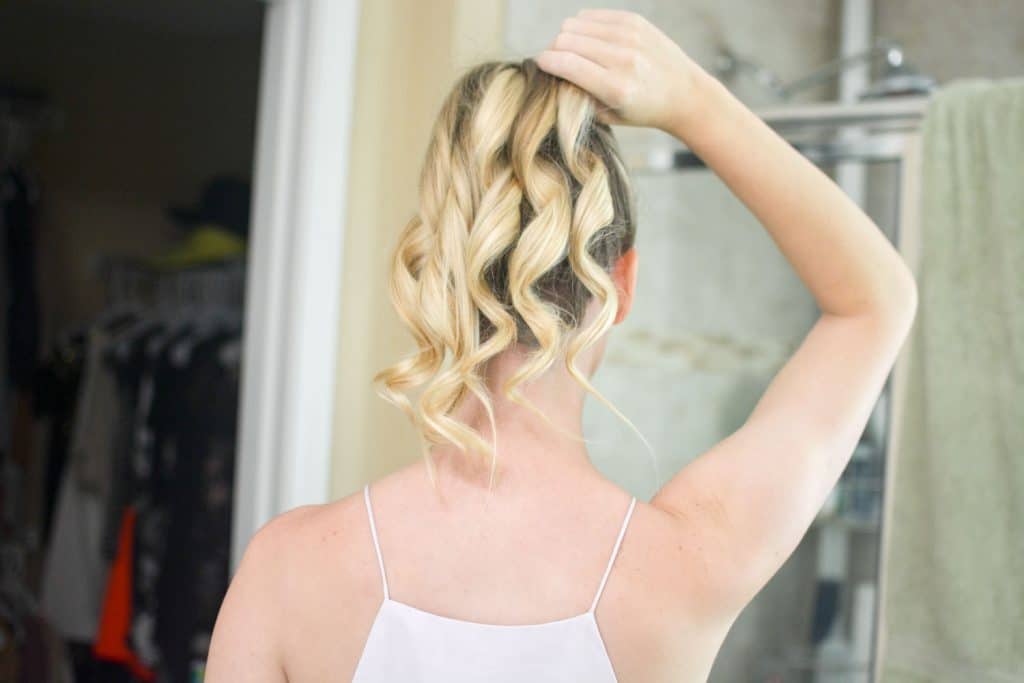
Step 3: Put your hair in a high ponytail
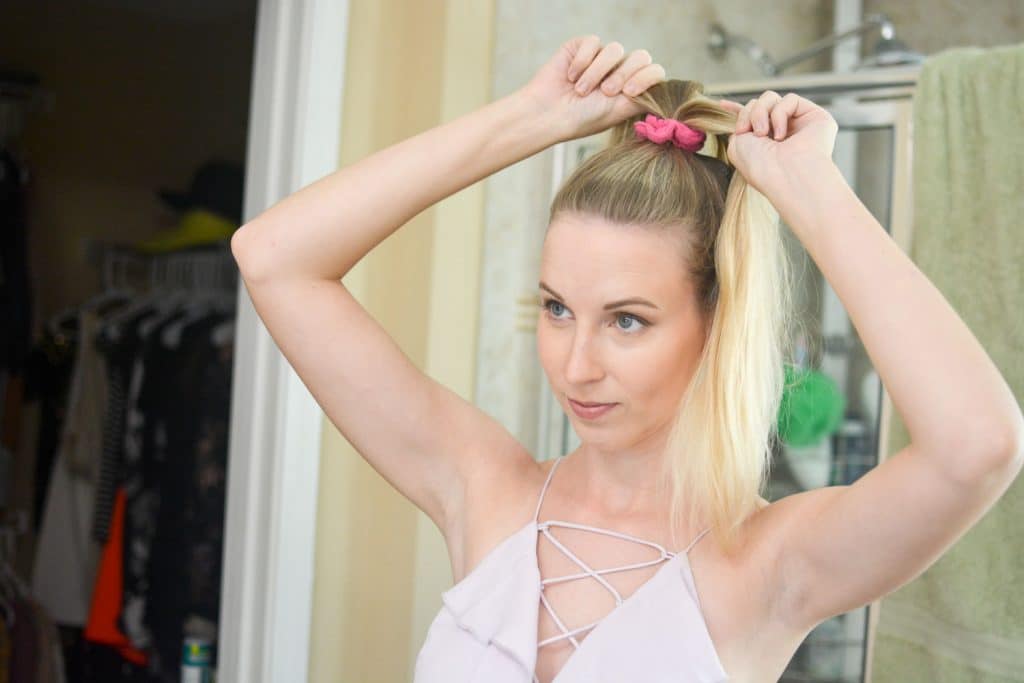
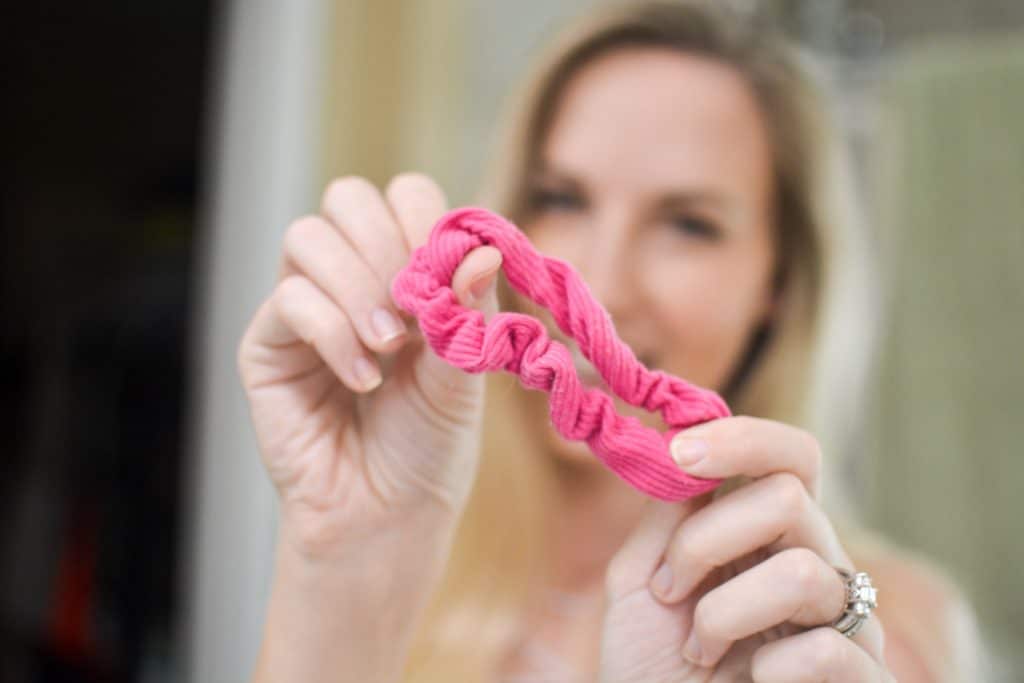
Channel your inner cheerleader, grab a scrunchie (or something that will keep your hair loose and not leave a crease), and make the highest ponytail you can get on top of that head.
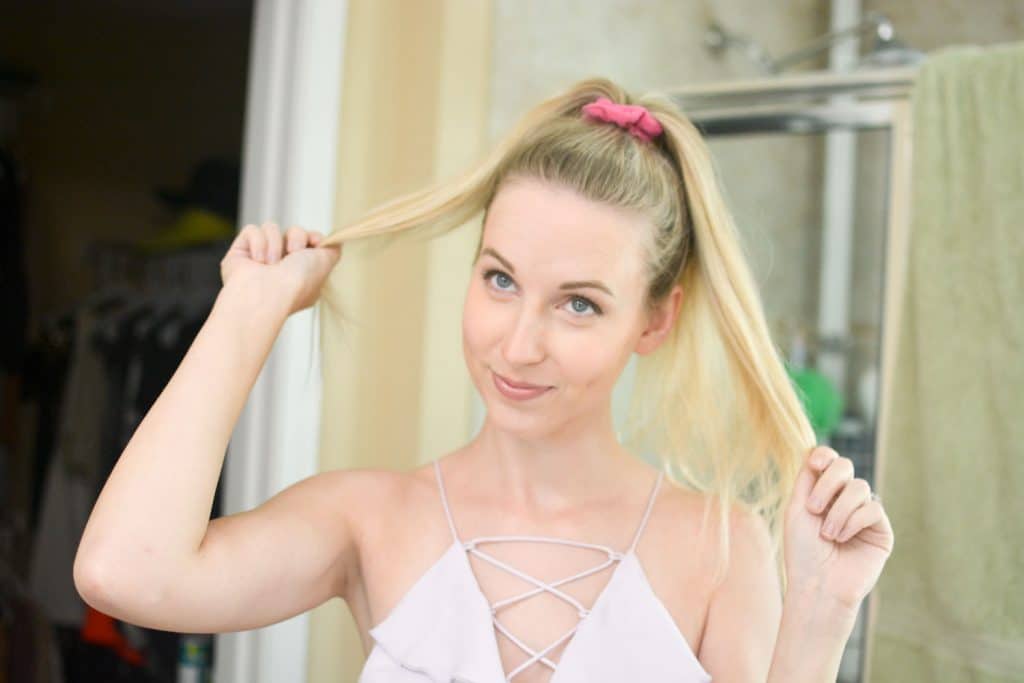
Step 4: Section & curl
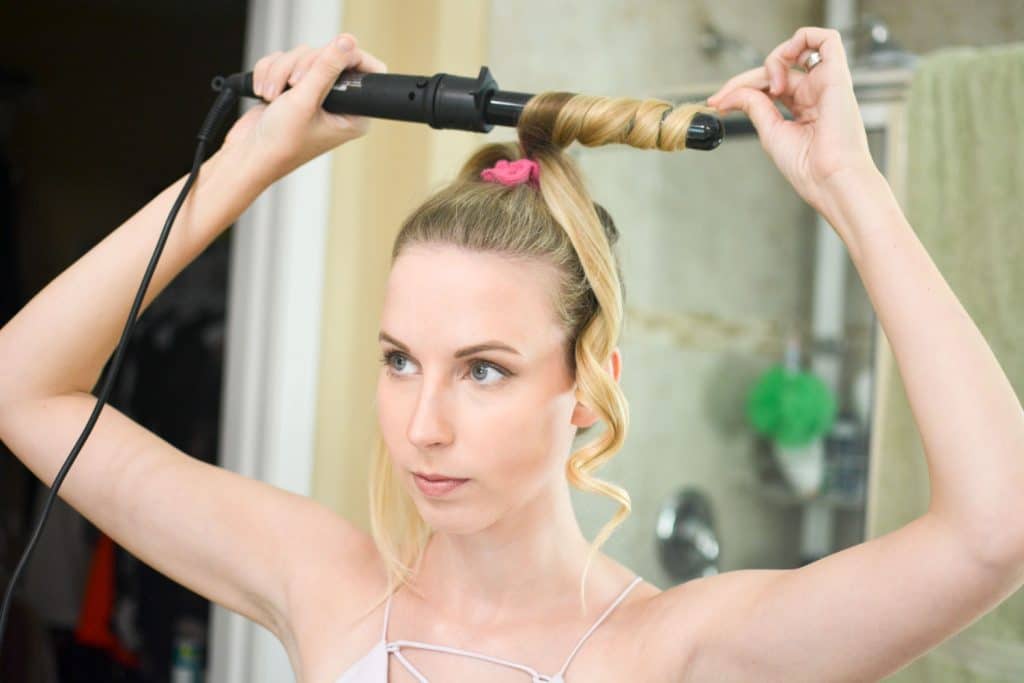
With a 1″ curling wand, I usually make about 5-6 sections of hair, but if you want smaller curls, grab smaller sections to create closer to 9-10. Keep in mind, though, that this will take more time. It all depends on your hair and what works best for you, so you might have to do a few trial and errors before getting it right. I personally like using a wand over a clamp, but use whatever you are most comfortable with!
Hold the section there until the piece of hair is heated through. If you are using the thicker strands, you can lightly feel the thicker sections of the hair around the iron and see if it is warm.
TIP: After a curl is heated through, I carefully let it go, catch the strand with my hand, and hold the curl for a few seconds while it cools. This helps the curl hold longer!

I like to alternate the direction of the curl, because you don’t know exactly where what part of your ponytail is going to end up when you let it down. Some times I do 3 one way, then 3 another. Other times I go back and forth with each section. It doesn’t make a difference either way, just make sure you have some different directions going on!
When you’e done, you should now have a cheerleader pony all curled and ready for your competition! If they aren’t all the same (like how the left side of my pony is different from the right), that’s totally fine. They’re not staying like this!
Step 5: Let those waves loose!
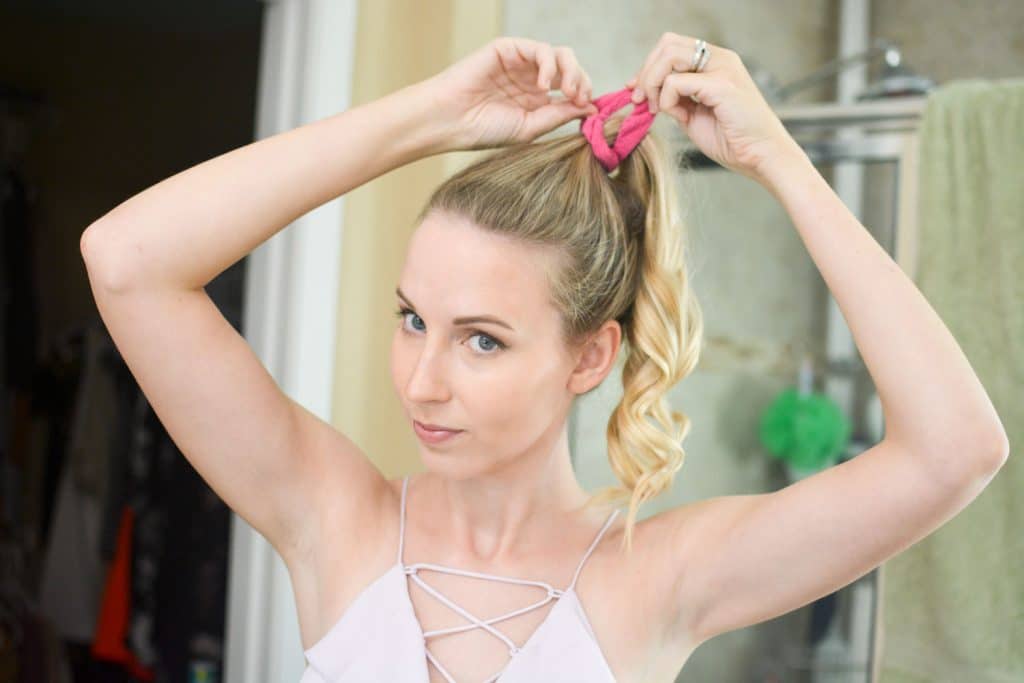
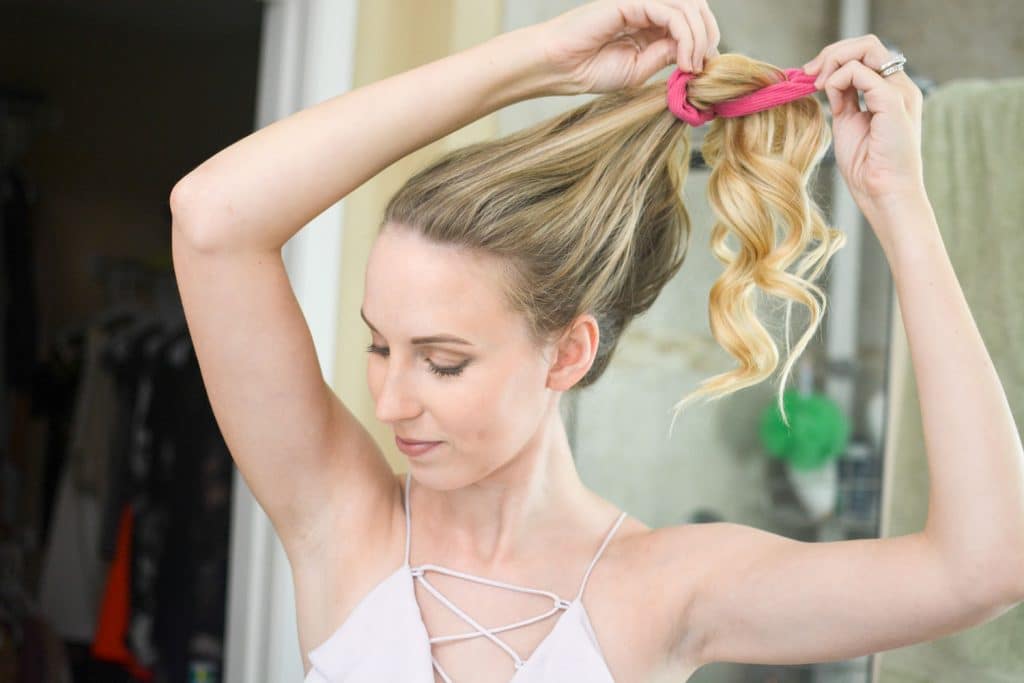
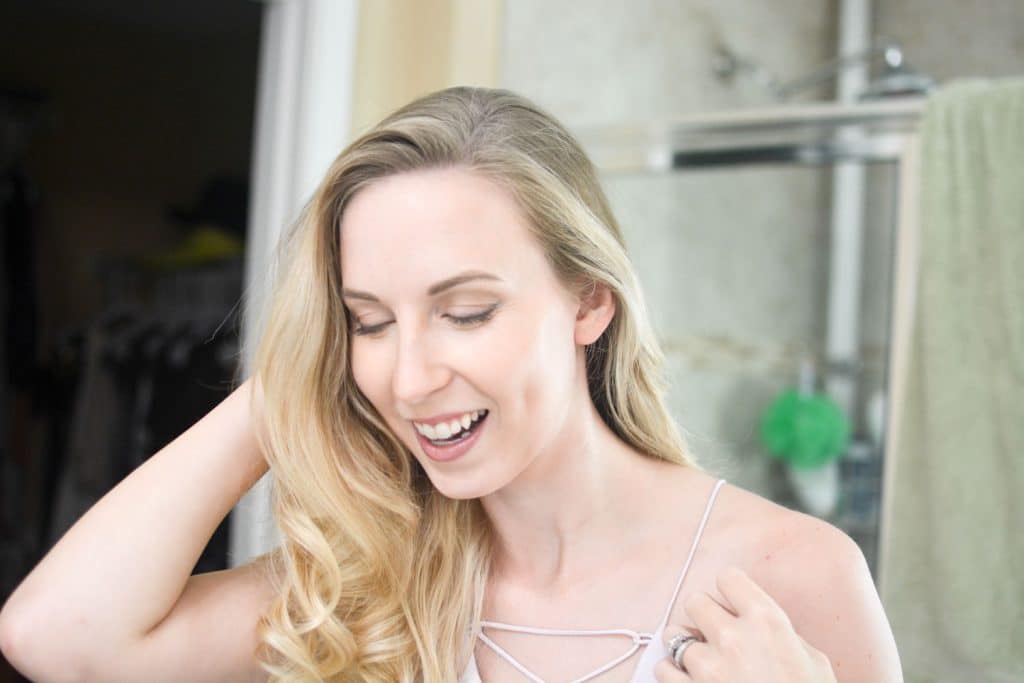
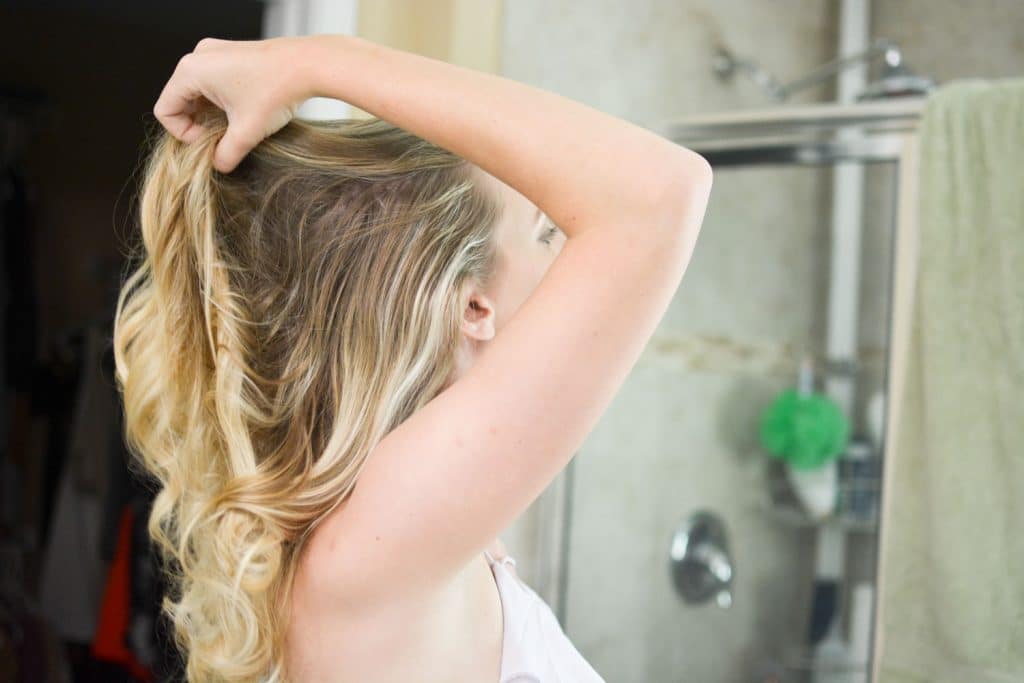 Gently pull out that scrunchie and shake out those curls! BAM! You’re a bombshell. I almost always have to touch up a couple pieces here and there. Mostly to curl the pieces that frame my face away from the face. Do whatever touch-ups you feel like you need to do!

And there you have it. The easiest, prettiest curl you will ever have!


5 Comments
Very nice. Keep up the great tutorials!
I think this is great! Because I often want to learn how to handle my hair or make-up, but I am too masculine. I can’t handle the things of girls. Haha, I need to ask for help.
You could totally do it! It’s SO easy! 🙂
I have never seen someone curl their hair like this but it seems so easy! Definitely going to try it out!
Yes!! I hope it works out 🙂 It might take some practice to figure out what works best for you (how many strands, etc) but it’s sooo easy!