It’s a lazy Sunday. The weather is gloomy and football is on. As hard as I try, I cannot get into football, so every time my husband turns it on I have to find something else to keep me occupied. Lately it’s been either my phone or I go upstairs and watch Netflix in the loft, but today I was feeling crafty. I have been wanting a new wreath for the front door for a while. I only have two: one for fall and one for Christmas, and I was tired of using the fall wreath year-round. I have looked and looked and all of the pre-made wreaths I really like are upwards of $40. Len and I can be pretty cheap when it comes to stuff like that, so I hopped on Pinterest and found some ideas to start my own DIY wreath.
I wasn’t sure how it was going to go, but I’m glad I documented it because I’m pretty proud of myself! I’m not great with flower arrangements or anything like that, so needless to say I was pretty overwhelmed when I walked into Michael’s and saw hundreds of options. But I pushed through and I think it’s safe to say I am happy with my choices. AND I came out with everything for only $30 (Michael’s always has coupons!)

Here’s what you’ll need:
- A grapevine wreath.
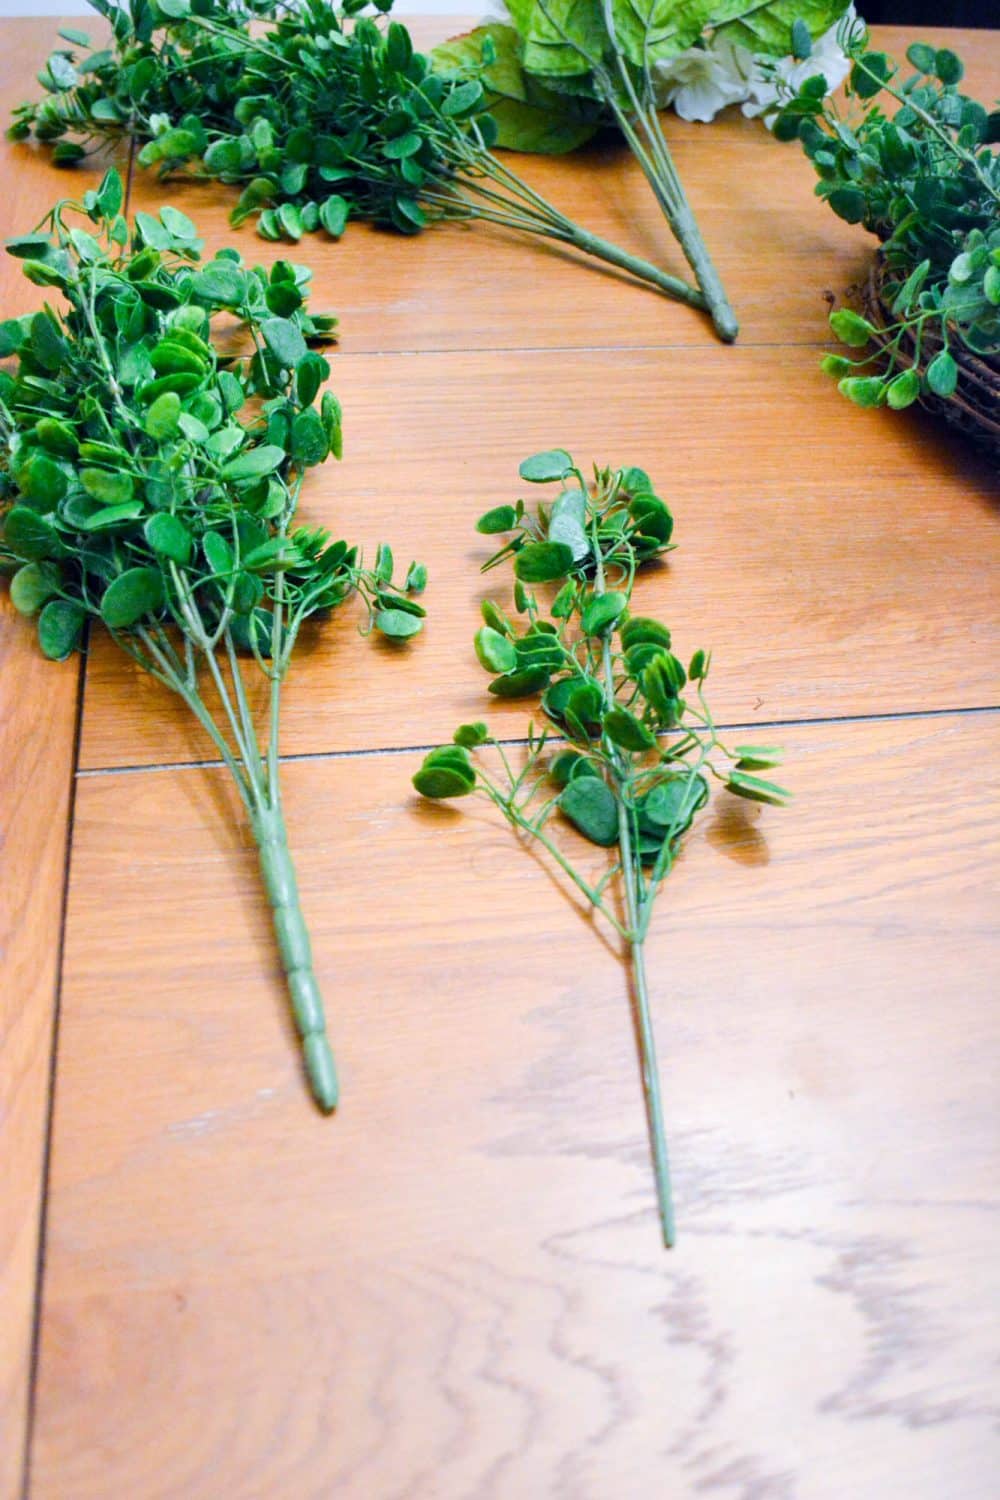
- A few bunches of your choice of greenery. (I grabbed three, but if you want a super full wreath, I would grab 5-6, depending on how much is in one bunch.)
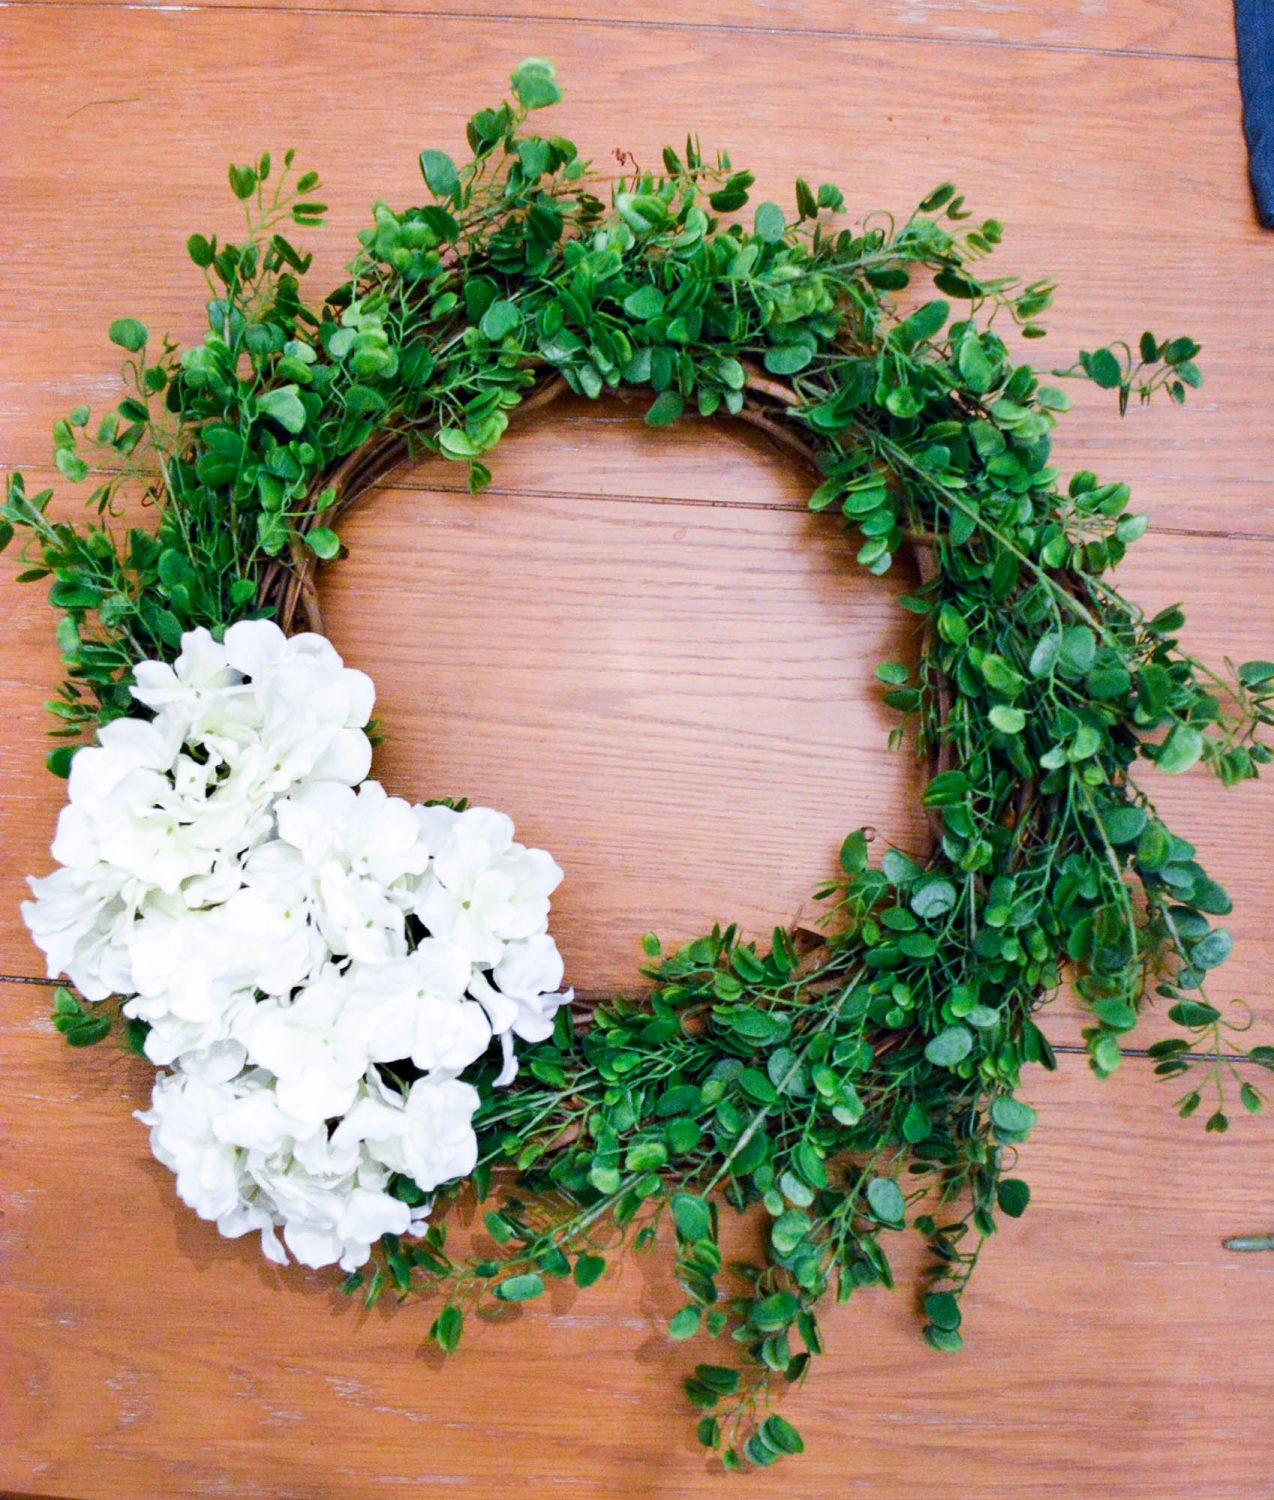
- Your choice of flowers, if you choose to include any. I used simple white hydrangeas, as they are one of my favorite flowers and I love the contrast of the white on the bright green. The wreath also looks nice without the flowers if you want to go for more of a natural look.
- Green floral wire.
- Something to cut the wire and the greenery bunches.
First thing I did was cut up individual stems of the greenery. If you have 5+ bunches, you can probably keep them full (and it will also be much easier for you). Test and see what will fill up the wreath the best for you.
Take each of your stems or bunches and start sticking them in the grapevine wreath. The smaller stems stuck pretty well, but it doesn’t hurt to take small pieces of the floral wire to tie them down. Make sure you wrap the wire around individual pieces of vine, and not the entire wreath. If you wrap it around the entire wreath then the wire will easily be seen, which you don’t want.


I started with one thin layer around and filled in the exposed parts that were left. This is a good way to make sure you have enough greenery to fill in as much as you can.
Here’s what it looked like after my first layer around the wreath:

Once you are happy with the fullness of your greenery, it’s time to start adding the flowers, if you choose to add them. I cut the stems of the flowers so there was still an inch or two left of stem under the flower. Stick this in the wreath where you want it to go. Now, make sure you use something to keep it in place! It will feel like the flower is wedged in the wreath really well, but it will fall out…trust me. I had to learn this the hard way. I used the wire, but another good option would be hot glue. Make sure there is no way it can easily come out, especially if you are keeping this outside.
And that’s it! You’re done! Easy, right?

I hope this inspires you to go out and be creative! If you make one, post a picture of it in the comments. I would love to see your masterpieces!

